Getting Setup
Got your PoolScout Kit? Great, download the PoolScout App for setup
If you are unable to safely install the camera yourself, we recommend the installation be done by a professional installer.
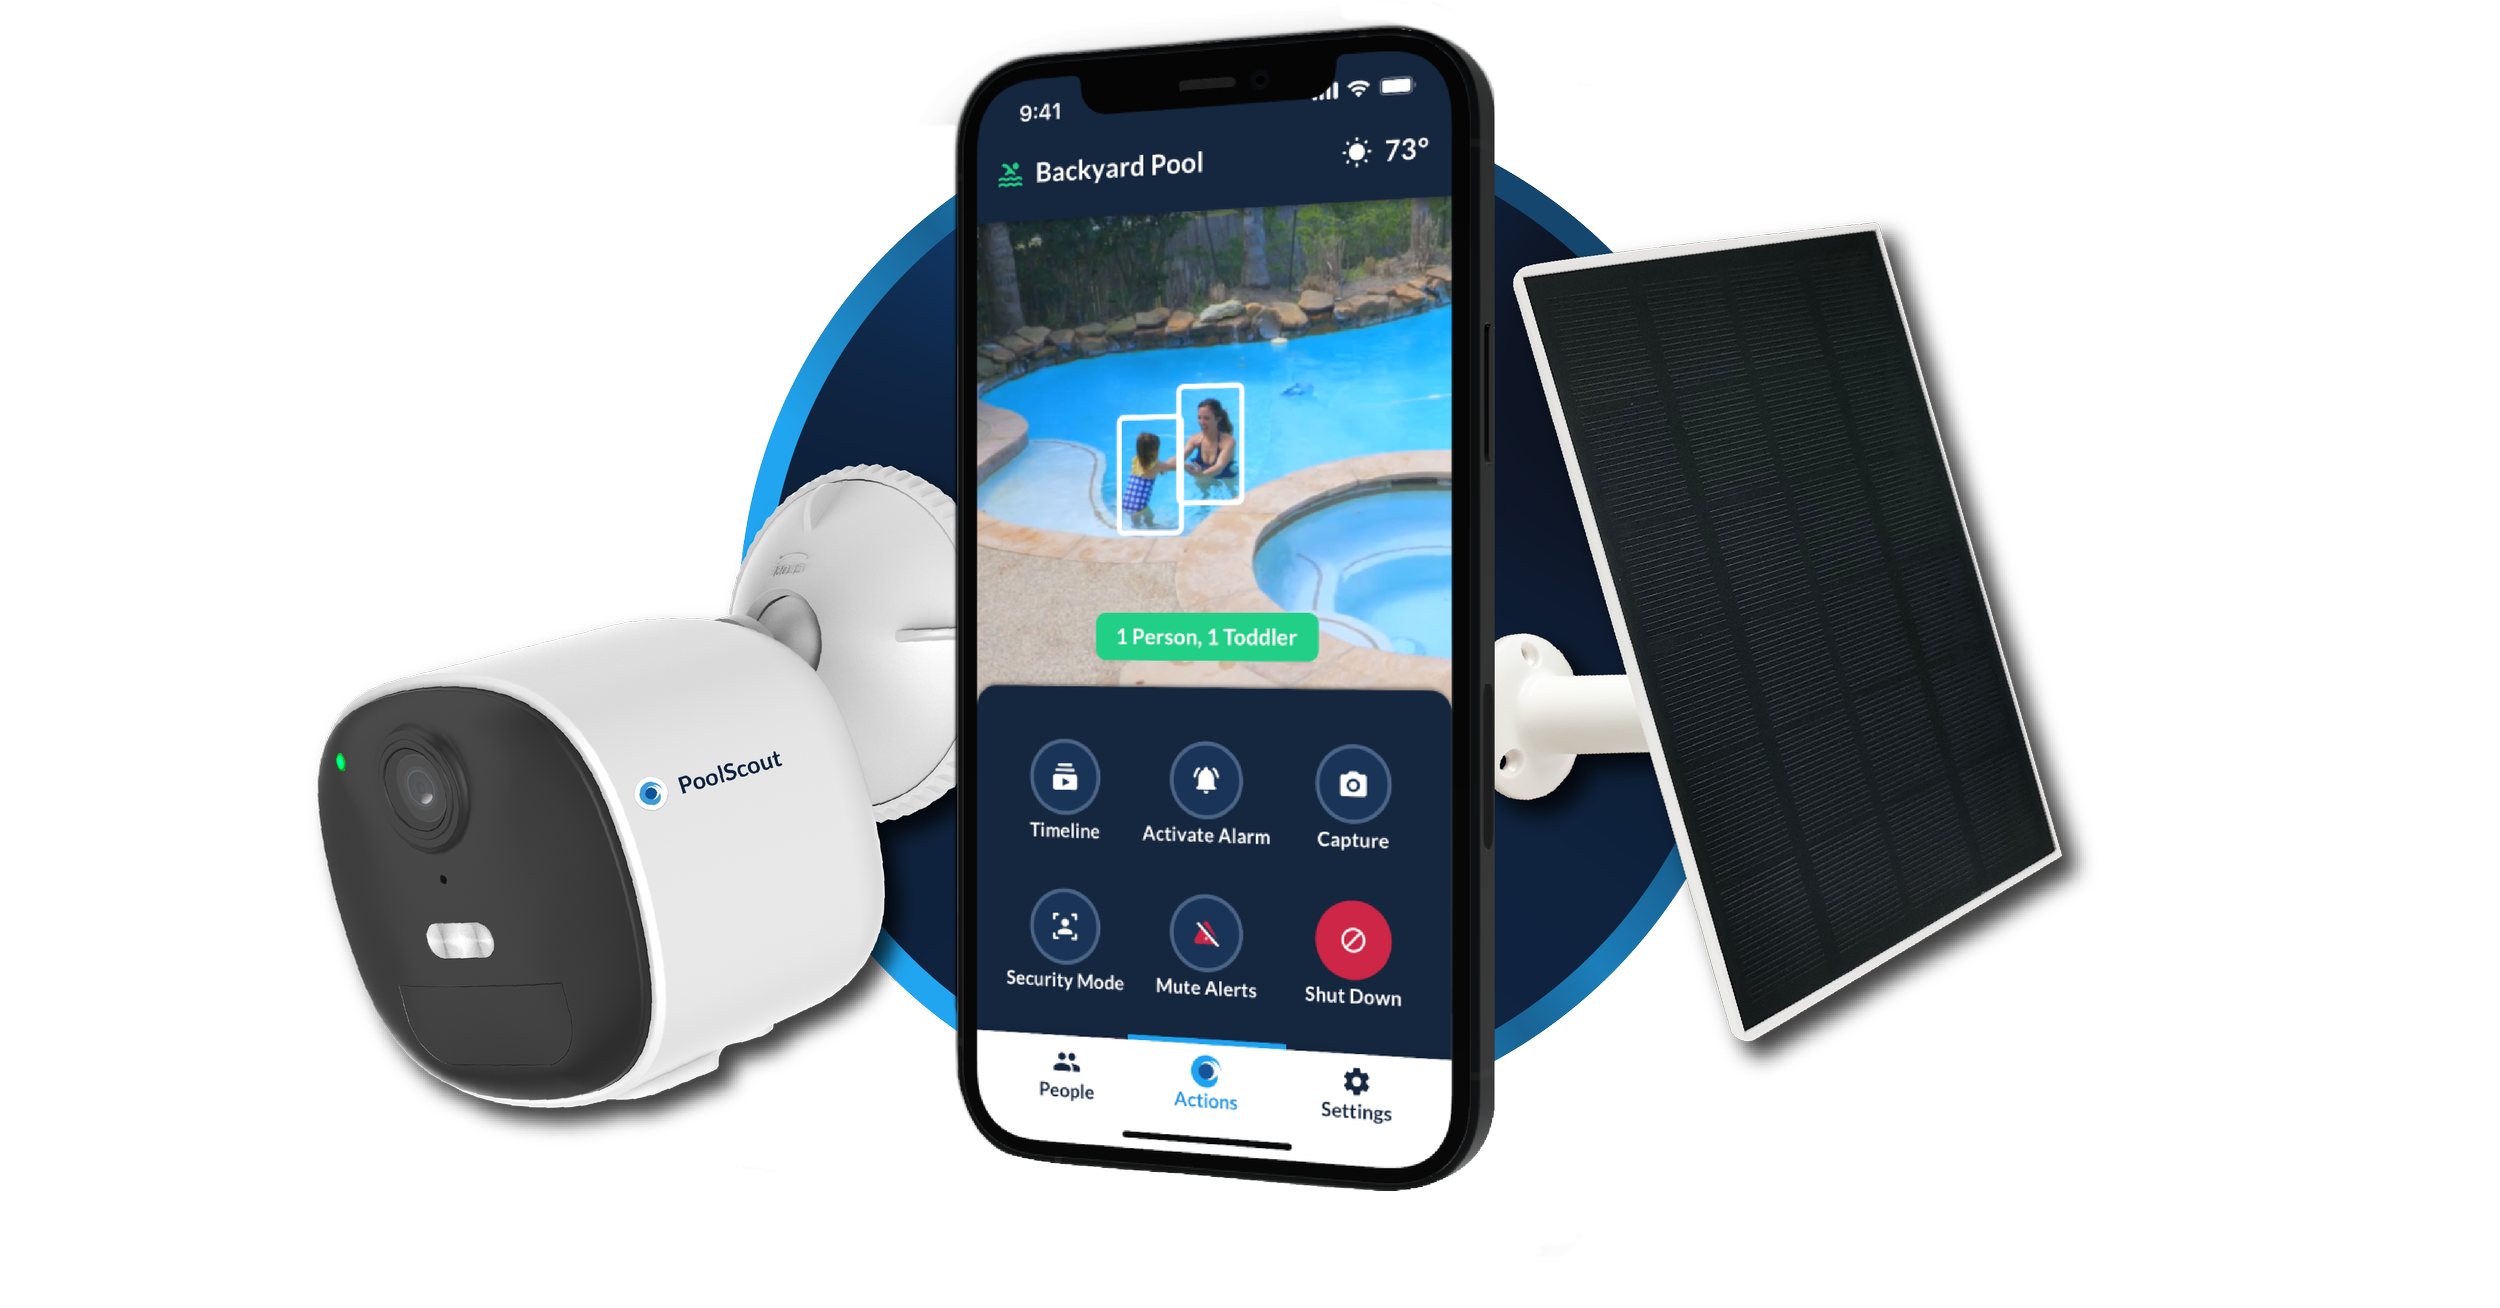
PoolScout Wireless (Battery and Solar) Setup
Follow the steps in the App or Manual for more details.
Installation Steps:
Before pairing the camera unit make sure:
Charge your PoolScout Wireless for at least 1 hour with a USB-C charger
Follow the steps in the PoolScout App, selecting “Pool Owner”
The camera is in an area with a strong Wi-Fi signal - make sure you connect to the 2.4Ghz option (and not 5Ghz)
Your mobile device is connected to the same Wi-Fi network as the camera should be
You have the correct 2.4Ghz Wi-Fi network name and password
If applicable, temporarily disable the firewall on the router
To start pairing the camera, press the On button on the underside of the camera for 3-5 seconds
Make sure there is a green light flashing before scanning the QR Code from the App
If you are having issues scanning the QR code from your phone, generate the QR code HERE
Having issues connecting? reset the camera by pressing the On button 3 consecutive times
Installation Steps:
Before pairing the camera unit make sure:
Download the PoolScout App to your device
The camera is connected to power
The antenna is connected to the camera unit
The camera is in an area with a strong Wi-Fi signal - make sure you connect to the 2.4Ghz option (and not 5Ghz)
Your device is connected to the same Wi-Fi network as the camera should be
You have the correct 2.4Ghz Wi-Fi network name and password
Having issues connecting? follow these steps to reset the camera
Once Setup, proceed to mount the camera unit
Correct Installation
Wi-Fi Alarm Unit Setup
Before pairing the alarm unit make sure:
The alarm unit is connected to power
The alarm unit is within range of your home Wi-Fi signal
You have already paired your PoolScout camera
The Alarm unit should be in paring mode and slowly flashing blue
If the unit is flashing blue quickly, then press both volume buttons at the same time until the flashing slows
You will then need to connect to the alarm unit by selecting from your Wi-Fi settings the alarm unit (SmartLife-XXXX)
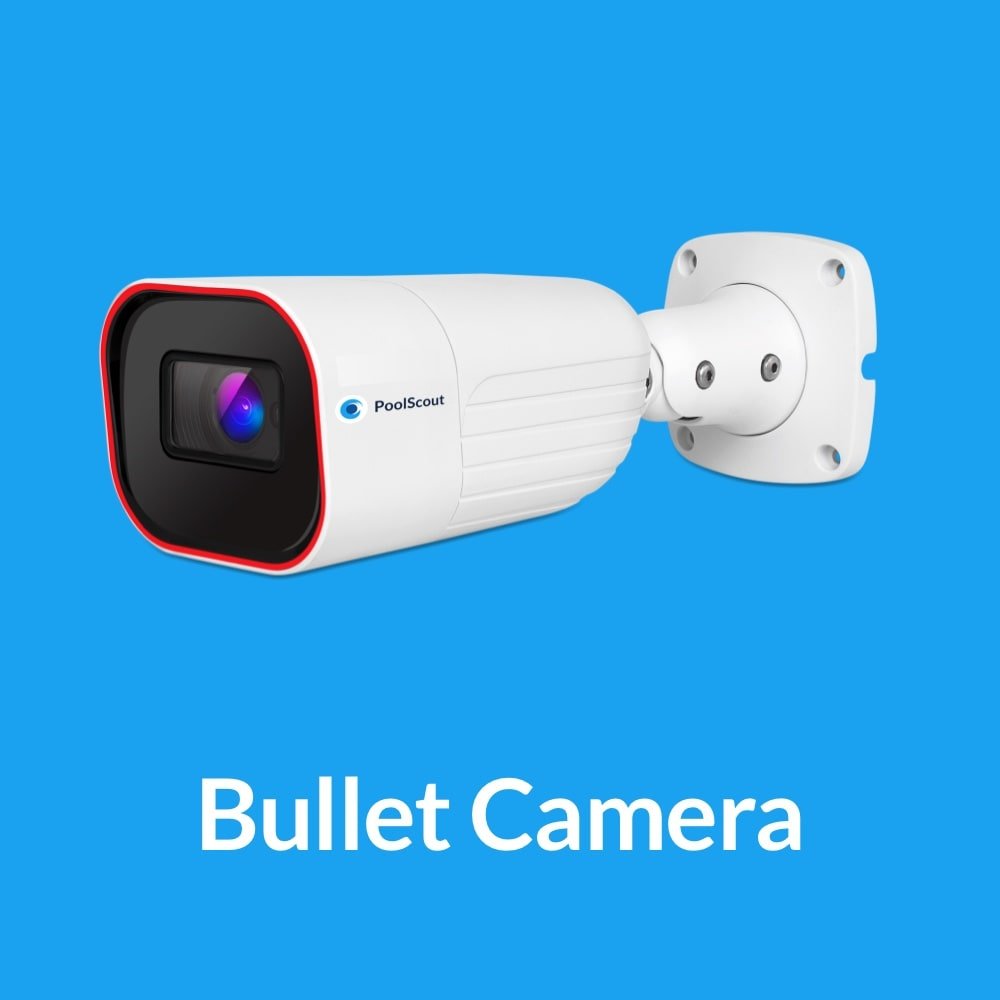
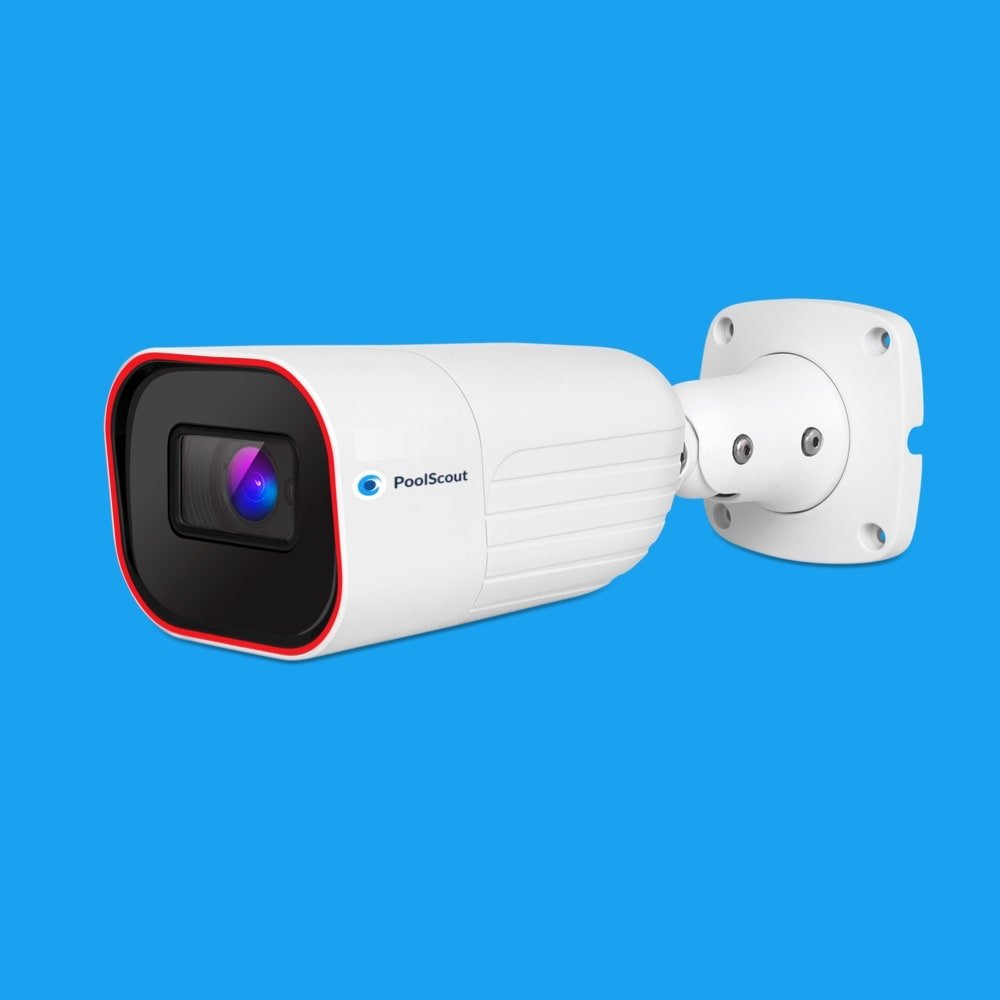
The Hardware - PoolScout Professional Wired Kit
Installation Steps:
Install the Camera on a surface that allows an unobstructed view of the entire pool and its surroundings
Install the Alarm unit within 3 ft of the Camera
Connect the Camera and Alarm to the junction box
Connect the junction box to router
Connect the power cables
Correct Installation
Invite trusted people to your PoolScout Family
Add others to your PoolScout account so they can help you keeping the pool safe. You can give them access to your pool Live Stream or just add them as emergency contacts. Either way, PoolScout will notify them in the case of an unsafe event.
You can also invite guests to the account for a time-limited period.


